Daylight Saving Time Shift: Adjust Your Diecast Display Lighting for Optimal Viewing

Spring forward, and your diecast display might just go dark. As daylight saving time rolls in on March 8, many collectors scramble to re‑light their showcases, only to end up with harsh glare or, worse, faded paint.
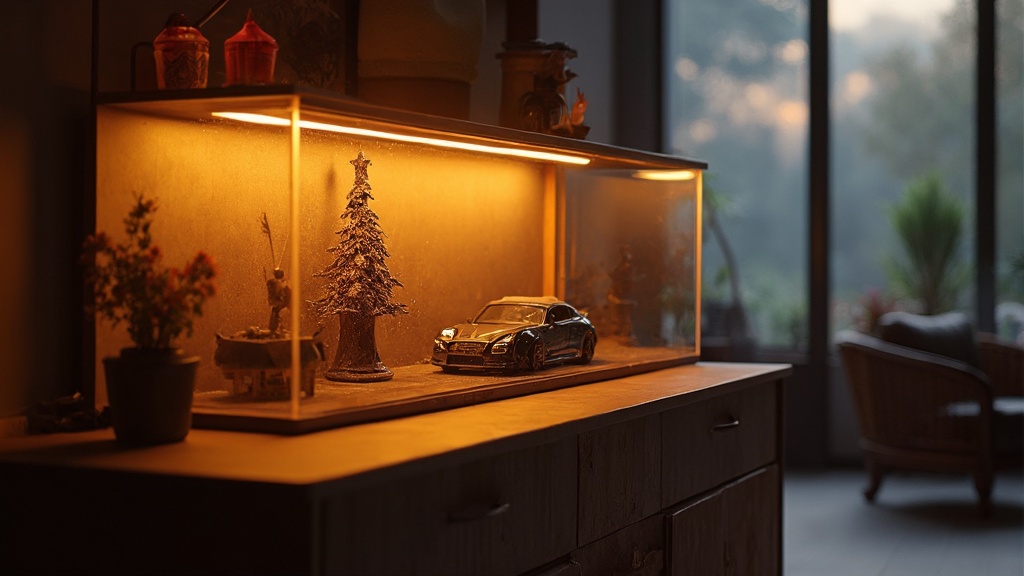
Adjusting lighting isn’t just about aesthetics; it’s a conservation strategy. The right illumination protects lacquer, highlights fine details, and keeps your miniature engineering masterpieces looking showroom‑ready all year round.
Why Does Daylight Saving Time Matter for Diecast Displays?
Daylight saving time (DST) shifts your home’s ambient light by an hour, which can throw off the balance you’ve painstakingly set for your display case. A sudden change in natural light can cause:
- Increased glare on glossy finishes
- Temperature fluctuations that affect humidity‑sensitive resin pieces
- Eye strain when you’re trying to admire the fine details
By treating the DST shift like a routine maintenance checkpoint, you turn a seasonal inconvenience into a proactive preservation step.
How Can You Re‑Position Your Lights for the New Daylight Hours?
First, assess where the sun hits your case in the morning versus the evening. Spring Refresh for 1:18 Diecast Displays recommends a quick visual sweep at sunrise and sunset.
- Identify hot‑spots. Use a piece of white paper held near the case; the brightest spot shows where glare will be most intense.
- Adjust tilt. Most LED strips have a ±15° tilt range. Angle them slightly upward to compensate for the earlier sunrise.
- Shift placement. If your case sits against a south‑facing wall, consider moving it a foot or two toward the east wall to catch softer morning light.
Document the new angles in a simple sketch – it saves you time the next time DST rolls around.
What Kind of Bulbs Should You Use After the Clock Change?
Not all LEDs are created equal. Display Lighting for 1:18 Diecast breaks down the specs you need:
- CRI (Color Rendering Index) 90+ – renders paint and metal finishes accurately.
- Color temperature 5000‑5500K – mimics daylight without washing out colors.
- Dimmable drivers – allow you to lower brightness during early morning when natural light is strongest.
For collectors who prefer a warmer glow, a 3000‑3500K LED can be used for evening viewing, but keep it separate from the main daylight‑balanced strip to avoid color‑shift confusion.
How Do Timers and Smart Controls Simplify the DST Adjustment?
Automation is your best ally. A simple plug‑in timer can shift your lighting schedule by an hour with a single setting change. For a more granular approach, consider a Wi‑Fi smart plug paired with a voice assistant:
- Set a routine: “When DST starts, set lights to 8 am schedule.”
- Program a gradual dim‑up over 30 minutes to ease your eyes into the new light level.
- Use a sensor‑based system (e.g., Philips Hue) that reacts to ambient light, automatically boosting LEDs when natural daylight drops.
These tools also let you remotely verify that the case stays at the correct temperature—critical for resin pieces that can warp under prolonged heat.
Can You Protect Your Paint While Reducing Glare?
Glare isn’t just an eyesore; it can cause localized heating that accelerates paint fading. Here’s a quick checklist:
- Use diffusers. Frosted acrylic panels soften harsh LED spikes.
- Install anti‑reflective film. A thin, museum‑grade film reduces bounce‑back without dimming the light.
- Space LEDs 2‑3 inches away from the models. This distance spreads light evenly and avoids hot spots.
Combine these steps with the DST‑adjusted tilt and you’ll keep those glossy finishes looking like they just rolled off the production line.
What Are the Best Practices for Ongoing Light Maintenance?
Think of lighting as a living system. Every 3‑6 months:
- Dust the LED strips and diffusers with a soft brush.
- Check the CRI rating—LEDs can degrade over time, dropping below the 90 threshold.
- Swap out any flickering units; a single faulty LED can create a noticeable dark line across a model.
For a deeper dive, see our Best 1:18 Diecast Display Cases of 2026 guide, which highlights cases with built‑in maintenance alerts.
What Are the Common Mistakes Collectors Make When Updating Their Lighting?
Even seasoned curators slip up. Avoid these pitfalls:
- Over‑brightening. A 1000‑lumens strip may look impressive, but it can scorch lacquer on resin models.
- Ignoring color temperature consistency. Mixing warm and cool LEDs creates a patchwork look that distracts from the engineering details.
- Leaving the timer set to “off” after the DST shift. A forgotten timer means your case stays dark for days.
By checking each of these items after the clock change, you’ll sidestep the most common lighting faux pas.
Takeaway: Treat the daylight saving shift as a mini‑maintenance window. Re‑tilt your LEDs, verify CRI and color temperature, automate the schedule, and add diffusers to protect paint. A few minutes of adjustment now prevents months of glare‑induced wear later.
Related Reading
- How to Store 1:18 Diecast Cars for Longevity: Temperature, Humidity, and Light Management – the broader environmental context for your display.
- Display Lighting for 1:18 Diecast: CRI, Color Temperature, and the Details You Are Missing – deep dive on bulb specs.
- Spring Refresh for 1:18 Diecast Displays – a seasonal checklist that pairs well with this guide.