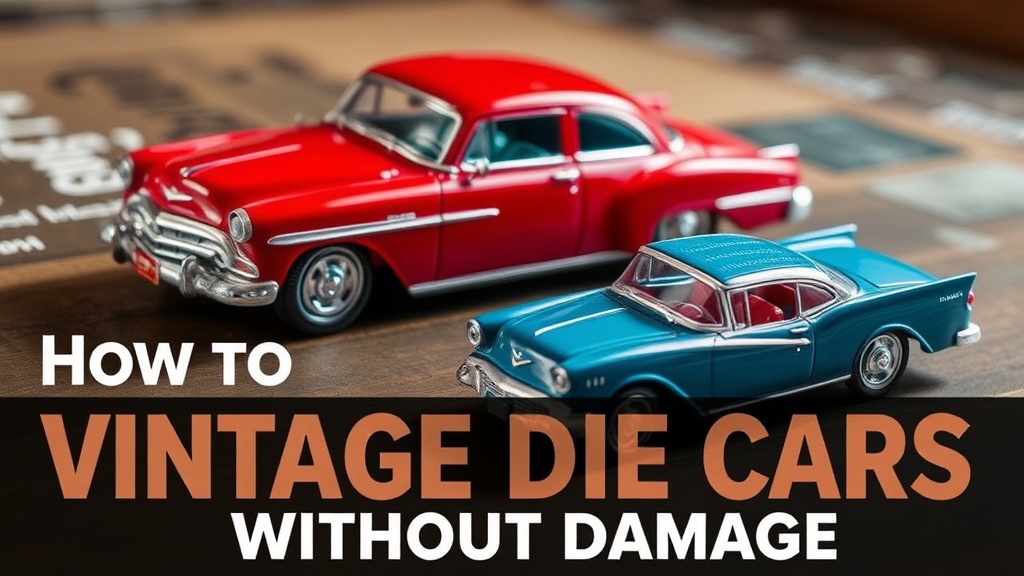
How to Clean and Restore Vintage Diecast Cars Without Damage

Vintage diecast cars accumulate decades of grime, oxidation, and paint degradation that quietly destroy their value. This guide covers proven cleaning and restoration techniques—from basic dust removal to addressing rust and paint touch-ups—without causing the micro-scratches, chemical etching, or structural damage that permanently compromise collectible condition. Whether you're preparing a Matchbox Superfast from the 1970s for resale or preserving a family heirloom Dinky Toys fire truck, the methods here prioritize conservation over aggressive intervention.
What Supplies Do You Need to Clean Vintage Diecast Cars Safely?
The right cleaning supplies for vintage diecast include soft-bristled brushes, pH-neutral soap, microfiber cloths, cotton swabs, isopropyl alcohol (70-90%), and plastic cleaning picks—not steel wool, abrasive pads, or harsh solvents that strip paint and pit metal surfaces.
Diecast collectors often make the mistake of reaching for household cleaners that work fine on modern toys but wreak havoc on aged zinc alloy. Here's the thing: vintage diecast from the 1960s-1980s uses different paint formulations, plating techniques, and base metals than contemporary models. A cleaner that's "safe for metal" at the hardware store might dissolve fifty-year-old enamel faster than you can say "ruined investment."
Here's a breakdown of what actually belongs in your restoration kit:
| Supply | Specific Product Examples | What to Avoid |
|---|---|---|
| Cleaning solution | Dawn Ultra dish soap (original blue), Meguiar's Gold Class Car Wash | Ammonia-based glass cleaners, acetone, brake cleaner |
| Brushes | Makeup brush set (Sigma E25, MAC 217), Tamiya Modeling Brush Basic Set | Toothbrushes (too stiff), wire brushes, scouring pads |
| Lubricants | 3-in-1 Multi-Purpose Oil, Hoppe's No. 9 Gun Oil | WD-40 (leaves residue), silicone sprays |
| Rust removal | Evapo-Rust, white vinegar (diluted) | Sandpaper, naval jelly (too aggressive) |
| Polishing | Meguiar's ScratchX 2.0, Mothers California Gold Clay Bar | Automotive rubbing compound, polishing wheels |
Worth noting: distilled water isn't optional—it's mandatory. Tap water contains minerals that leave white spotting on diecast surfaces, particularly on chrome-plated bumpers and window trim. Fill a dedicated spray bottle and keep it labeled.
The catch? Even "gentle" products require testing. Always spot-test any cleaner on an inconspicuous area—like the underside of the chassis or inside a wheel well—before applying it to visible surfaces. Some 1970s Hot Wheels Redlines have paint that's surprisingly soluble decades later.
How Do You Remove Decades of Grime Without Damaging the Paint?
Remove accumulated grime from vintage diecast using a three-stage process: dry dusting with soft brushes, washing with diluted pH-neutral soap and lukewarm water, and targeted cleaning of recessed areas with cotton swabs dipped in isopropyl alcohol.
Start dry. Sounds counterintuitive when faced with a filthy Corgi Toys ambulance, but water plus dirt equals abrasive paste. Use a large fluffy makeup brush (synthetic fibers work best) to dislodge loose dust from the body, wheel wells, and interior. Work from top to bottom—gravity is your friend here.
For the wet wash, fill a shallow basin with lukewarm water (never hot—heat expands metal and can crack paint). Add three drops of Dawn Ultra. That's it. More soap doesn't mean cleaner; it means more residue to rinse away. Submerge the model briefly—ten seconds maximum for models with decals or window glazing that might have micro-cracks.
Use your softest brush in gentle circular motions. Think feather duster, not scrub brush. The bristles should do the work, not your elbow grease. Pay special attention to:
- Panel lines: Dirt loves these trenches. A soft dental pick (plastic, from a Testors modeling set) can trace the lines gently.
- Wheel spokes: Wrap a microfiber cloth around a thin wooden skewer—gives you control without scratching.
- Window edges: Acrylic glazing gets cloudy fast. Use a barely-damp cotton swab, no pressure.
Rinse under a gentle stream of distilled water. Pat dry immediately with a lint-free microfiber towel—don't rub. Air-drying invites water spots that etch into clear coat.
That said, some grime isn't grime. It's paint oxidation—a chalky white haze that soap won't touch. For this, you'll need a specialized approach (covered in the restoration section). Don't keep scrubbing harder when you hit oxidation; you'll strip the paint layer beneath.
Can You Fix Rust on Old Diecast Cars Without Repainting?
Surface rust on vintage diecast can often be removed without repainting using chemical rust converters like Evapo-Rust or carefully applied white vinegar soaks, followed by neutralization and protective oil coating to prevent recurrence.
Rust on diecast isn't like rust on steel car parts. Zinc alloy (the "zamak" used in most vintage diecast) corrodes differently—it develops a white, powdery oxidation called zinc pest that can actually expand and crack the metal from within. The catch? Once zinc pest advances, no cleaner fixes it. Early intervention matters.
For surface rust that hasn't compromised the metal structure:
- Isolate the area. Mask surrounding paint with painter's tape if the rust spot is small and localized.
- Chemical bath. Submerge rusted components in Evapo-Rust for 30 minutes to 4 hours (depending on severity). This chelating agent removes rust without attacking paint or chrome—it's safe enough to put your hands in.
- Vinegar alternative. For budget-conscious collectors, a 50/50 mix of white vinegar and distilled water works. Limit exposure to 15-20 minutes; vinegar is acidic and can etch metal if left too long.
- Neutralize. After rust removal, dip the part in a baking soda solution (1 tablespoon per cup of water) for five minutes to stop the acid reaction.
- Dry thoroughly. Use compressed air or a hair dryer on cool setting. Moisture is the enemy.
- Protect. Apply a thin coat of 3-in-1 oil or boiled linseed oil to exposed metal surfaces. Wipe excess—oil attracts dust.
Chrome parts present special challenges. Vintage Hot Wheels redline wheels and Matchbox Superfast bases often show "chrome creep"—that cloudy, spiderweb pattern where the vacuum-metalized layer degrades. No cleaner fixes this; it's a metallurgical failure. Your best bet is conservation—stabilize with a thin acrylic clear coat (Testors Dullcote) to prevent further oxidation, or consider professional re-chroming through services like Spruce Top Collectibles for high-value pieces.
What's the Safest Way to Restore Faded or Chipped Paint?
Restore faded diecast paint through gentle polishing with non-abrasive compounds like Meguiar's ScratchX, color-matching touch-up with model-specific paints (Testors, Tamiya), and protective clear coating—never attempt wet-sanding or power buffing that removes irreplaceable original finish.
Faded paint isn't dead paint. UV exposure, oxygen, and handling oils gradually dull the pigments in diecast enamels and lacquers. Sometimes—sometimes—you can wake those colors back up.
Start with the least invasive approach: hand polishing. Apply a pea-sized amount of Meguiar's ScratchX 2.0 to a microfiber applicator pad. Work in straight lines (not circles—swirl marks are forever) with light pressure. You're not trying to remove paint; you're removing the oxidized top layer. Check your progress every few strokes. Stop immediately if you see primer or bare metal.
For chips and scratches, color matching is an art. Vintage Corgi and Dinky used proprietary colors that don't map cleanly to modern paint codes. Here's your workflow:
- Photograph the damaged area under natural daylight
- Consult reference guides like The Encyclopedia of Matchbox Toys by Charlie Mack or The Matchbox Forum for original color specifications
- Acquire Testors Model Master or Tamiya acrylics in close matches—buy three shades if unsure
- Test on a donor car or hidden chassis area first
- Apply with a 10/0 detail brush (Winsor & Newton Series 7 is the gold standard) in thin layers—three thin coats beat one thick coat
Here's the thing about clear coats: vintage diecast wasn't designed for them. A 1960s Matchbox Lesney has thin, delicate paint that breathes. Slapping on modern 2K automotive clear coat traps solvents and can cause "crazing"—microscopic cracks that spread like spiderwebs. If you must seal touch-ups, use Testors Dullcote or Glosscote in extremely light mist coats from 12+ inches away.
When to Stop and Call a Professional
Not every restoration belongs in your kitchen. Professional diecast restorers—like those at Diecast Restorations or specialized eBay sellers with decades of feedback—have equipment and techniques that justify their cost for high-value pieces:
- Ultrasonic cleaning tanks (for intricate multi-piece models)
- Airbrush stations with proper ventilation and paint matching systems
- Replacement parts networks (wheel swaps, repro decals, reproduction boxes)
- Experience with structural repairs (re-soldering broken posts, replacing rivets)
That said, professional restoration often hurts resale value in the serious collector market. An unrestored "barn find" Hot Wheels Python in original condition commands more than a beautifully restored equivalent. Document everything—photographs, materials used, techniques applied. Provenance matters.
How Should You Store Cleaned Diecast to Prevent Future Damage?
Store cleaned vintage diecast in acid-free display cases or archival-grade plastic containers with desiccant packets, away from direct sunlight, temperature fluctuations, and off-gassing materials like wood shelves or PVC storage boxes.
You just spent three hours carefully coaxing a 1968 Custom Mustang back to life. Don't undo that work with poor storage. Diecast corrosion is a slow-motion disaster—humidity, temperature swings, and chemical off-gassing from inferior storage materials will quietly undo your restoration over months or years.
Ideal storage conditions mirror museum standards: 65-70°F with 45-55% relative humidity. Few home collections achieve this perfectly, but you can get close:
- Containers: Use Gaylord Archival microchamber boxes or Really Useful Boxes (polypropylene, acid-free). Avoid Rubbermaid or Sterilite containers with that "plastic smell"—that's off-gassing.
- Desiccants: Silica gel packets are fine, but Interteck clay desiccants last longer and can be recharged in an oven. Place them in the container, not touching the cars directly.
- Shelving: Powder-coated metal or sealed laminate only. Raw wood (even sealed wood) releases acids. IKEA's FJÄLLBO metal shelves work well and look decent.
- Positioning: Store horizontally when possible. Suspended display cases look great but put stress on wheel axles over decades.
Worth noting: never store diecast in direct contact with rubber. Those 1980s childhood collections stored in tackle boxes with foam inserts? The foam breaks down into a sticky tar that bonds permanently to paint. If you see green corrosion on chrome—that's often the result of rubber degradation, not simple oxidation.
Rotation matters too. Even in climate-controlled storage, check your collection quarterly. Look for early zinc pest (white powder), paint lifting, or decal yellowing. Catch it early, treat it early. A five-minute inspection saves hours of restoration later.
The best preservation strategy? Handle with care—but don't handle too often. Oils from skin transfer even through nitrile gloves (yes, really). When you must handle vintage diecast for display rotation or photography, hold by the base or wheels, never the body panels. And never, ever stack models—weight distortion on lower pieces is permanent.
Steps
- 1
Gather Your Cleaning Supplies and Inspect the Model
- 2
Remove Loose Dust and Debris with Compressed Air
- 3
Clean Gently with Mild Soap Solution and Soft Brushes