Preventing Wheel Fatigue: Maintaining Rubber Tires on Vintage Diecast Models

Preventing Wheel Fatigue: Maintaining Rubber Tires on Vintage Diecast Models
This guide provides technical protocols for identifying, treating, and preventing the degradation of synthetic rubber and thermoplastic elastomers used in high-end diecast model tires. You will learn how to mitigate common issues such as "flat-spotting," chemical leaching, and oxidative cracking to preserve the structural integrity of your collection's rolling stock.
Understanding the Material Science of Diecast Tires
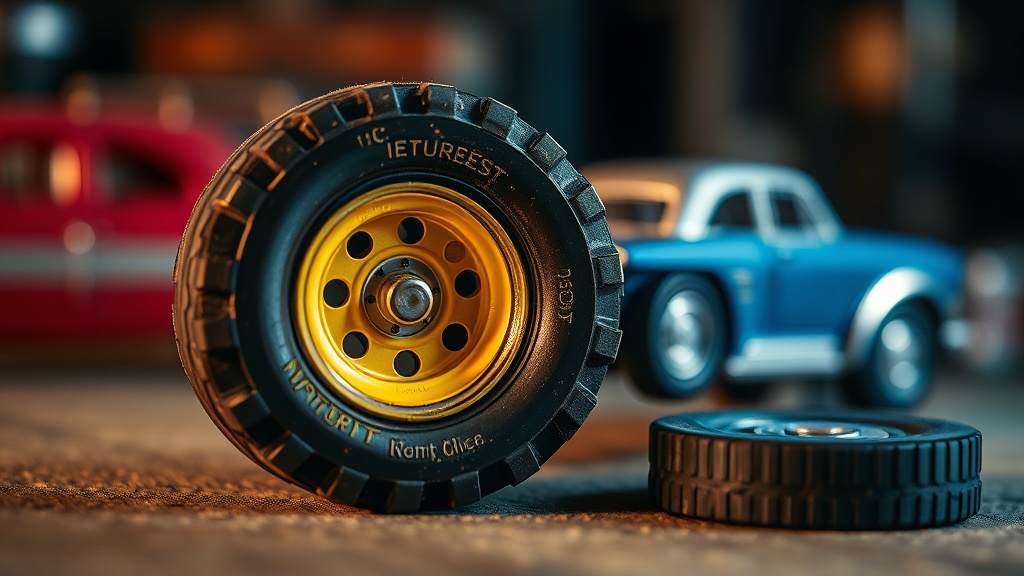
Most vintage diecast models, particularly high-fidelity 1:18 scale replicas from manufacturers like AutoArt, Minichamps, or CMC, utilize a combination of synthetic rubber or thermoplastic elastomers (TPE) wrapped around a plastic or metal rim. Unlike the robust, vulcanized rubber found in automotive tires, these miniature components are often more susceptible to environmental stressors. The degradation usually manifests in three distinct ways: chemical breakdown (leaching), physical deformation (flat-spotting), and environmental cracking (ozonation).
Chemical leaching occurs when the plasticizers—the additives used to keep the rubber supple—migrate to the surface. This results in a "sticky" or tacky residue on the tire tread. If left untreated, this residue attracts particulate matter, which can act as an abrasive against the model's chassis or paintwork. This is a critical concern when you are already practicing dust defense techniques, as the sticky surface will trap even the smallest airborne contaminants.
The Mechanics of Flat-Spotting
Flat-spotting is a mechanical failure caused by prolonged static pressure. When a diecast model is left in the same position for months or years, the weight of the diecast metal body (often a zinc alloy) exerts constant downward pressure on a single point of the tire. Over time, the polymer chains within the rubber undergo creep, a slow deformation under constant stress. This results in a permanent flat section on the tire's circumference, rendering the model's stance uneven and aesthetically compromised.
To prevent this, avoid storing models in a way that concentrates weight on a single axis. If your collection includes heavy 1:18 scale models with significant metal content, do not rely on thin acrylic stands that may exert uneven pressure. Instead, utilize solid, level surfaces or specialized display cases that distribute the weight evenly across the chassis.
Step-by-Step Protocol for Cleaning Tacky Tires
If you encounter a model with "sticky tires," do not attempt to wipe them with a dry cloth, as this often smears the plasticizers further into the tread. Follow this precise cleaning sequence to restore the surface tension of the rubber:
- Isolate the Component: If the model design allows (such as certain Kyosho or BBR models), carefully remove the wheels from the chassis using a precision tool. This prevents cleaning agents from migrating to the delicate paint or decals.
- Prepare a Mild Solvent: Use an Isopropyl Alcohol (IPA) solution with a concentration of no more than 70%. Higher concentrations can be too aggressive and may strip the essential oils from the rubber, leading to premature cracking.
- The Microfiber Application: Dampen a lint-free microfiber cloth with the IPA solution. Do not soak the cloth; it should be barely damp. Gently wipe the tire surface in a circular motion to lift the tacky residue.
- Neutralization: After the IPA has evaporated, wipe the tire with a cloth dampened with distilled water. This ensures no chemical residue remains that could further react with the polymer.
- Drying: Allow the tires to air-dry completely in a dust-free environment before reattaching them to the vehicle.
Mitigating Oxidative Cracking and Ozone Damage
Oxidative cracking, often referred to as "dry rot" in the automotive world, is caused by exposure to ozone (O3) and UV radiation. This is particularly prevalent in display cases located near windows or in rooms with poor ventilation. The ozone breaks the molecular bonds in the elastomer, leading to microscopic fissures that eventually become visible cracks.
Preventative Measures:
- UV Filtration: Ensure your display cases are fitted with UV-resistant acrylic or glass. If your display is near a window, use UV-blocking film on the glass to prevent high-energy light from reaching the models.
- Controlled Airflow: Avoid placing collections near air purification systems that generate high levels of ozone or near high-voltage electronic equipment, which can slightly increase local ozone concentrations.
- Temperature Stability: Fluctuations in temperature cause the rubber to expand and contract. Aim for a stable environment between 65°F and 72°F (18°C - 22°C) with a relative humidity of 40-50%.
Advanced Maintenance: The Use of Silicone-Based Protectants
Once a tire has been cleaned of tacky residue, you may choose to apply a specialized protectant to restore suppleness. However, caution is required. Many commercial "tire shines" are silicone-based and can be highly detrimental to diecast models if they touch the paint. Silicone is notoriously difficult to remove once it has migrated to the chassis.
If you must use a protectant, use a high-quality, non-greasy rubber rejuvenator specifically designed for delicate surfaces. A professional-grade approach involves using a very small amount of a specialized silicone oil (such as those used in precision instrument maintenance) applied with a micro-applicator. Apply the oil to the applicator first, never directly to the tire, and work it into the sidewall only. This creates a barrier against oxidation without leaving a heavy, dust-attracting film.
The Inspection Routine
A professional collection requires a rigorous inspection schedule. I recommend a quarterly "Forensic Inspection" of your rolling stock. During this process, use a jeweler's loupe (at least 10x magnification) to examine the tire treads and sidewalls. Look for the following red flags:
- Micro-fissures: Tiny lines in the sidewall that indicate the onset of ozone damage.
- Surface Texture Changes: A change from a matte to a shiny or "wet" look, which often signals the migration of plasticizers.
- Deformation: An uneven gap between the tire and the wheel arch, indicating flat-spotting.
By implementing these technical standards, you move beyond simple collecting and into the realm of true preservation. Maintaining the mechanical perfection of the wheels is just as vital as maintaining the paintwork or the precision of the engine components. A model with a perfect body but cracked, flat-spotted tires loses its status as an engineering masterpiece and becomes merely a weathered toy.
"Precision in maintenance is the difference between a decaying relic and a preserved specimen. Treat the rubber with the same scrutiny you would a high-performance gasket."
Regular vigilance and the application of correct chemical and mechanical principles will ensure that your vintage diecast models remain in showroom condition for decades to come.
Steps
- 1
Inspect for Dry Rot
- 2
Apply Specialized Conditioners
- 3
Avoid Weight Stress
- 4
Control Environmental Humidity